I had trouble finding a decent OEM type option so I hope this helps a few people out. I was originally going to wrap the chrome black but it actually matches the e-brake button, Nissan emblem and door handles so I think I’ll keep it chrome.
Shift knob:
You can find these on online (eBay) between $15.00 to $20.00 shipped from China. The common search words are “6 Speed Gear Shift Knob For Nissan X-Trail T30 2001 2002 2003 2004 2005 2006 07″.
Recently I installed a SE-R spec V H-LSD along with a JWT flywheel and decided to try the M-Pact clutch components they sell on www.rockauto.com. The latest year Z that they list separate pressure plate and disc for is 2006, which should be good enough for bolt-ons and ECU reflash for 02 Maxima.
The pressure plate part number is M-PACT 98630 which is also their pressure plate listed for 02-06 Maxima. The disc part number is M-Pact 99688D which is their general sprung organic disc for many other Nissans and G35. I went with a National throw-out bearing and pilot bearing this time.
After putting 500 miles of city driving for break-in I finally started getting on it yesterday and it has a lot more bite than the outgoing basic Exedy kit I was running.
I also replaced the flywheel bolts with Allen head bolts with orange Loctite, I hate Torx bolts. Only Fastenal had the Allen head bolts that matched up. JWT instructions called for Loctite red but I don’t think it’s a good idea to use it on a crank. The flywheel will need to come off eventually, mainly when I do the 2nd gen swap.
All the clutch components together ended up costing me $168.97 which isn’t bad, now it’s just a matter of how good it holds up. My lust clutch kit was actually a LUK that came packaged with a LUK dual mass flywheel, not Exedy as I mentioned above. When I first got my car in December of 2012 the throw-out bearing went bad a month later and I had installed an Exedy kit.
M-pact pressure plate #98630 $82.79
M-Pact friction disc #99688D $60.79
National release bearing #614049 $23.79
national pilot bushing #PB22 $1.60
I only paid $300 for the 04 Sentra SE-R Spec V donor tranny that I took the Helical LSD out of. it fit right in since it’s the same LSD that comes in some of the 6 speed Maxima’s, I just had to put Maxima’s ring gear on it. I would have swapped the whole gear set as I saw in some write-ups but my tranny doesn’t grind any gears so I kept the stock gears.
Obviously a tranny. I used my old ’95 tranny with 108k. (My current car has 180k)
Amsoil synthetic GL-4 tranny fluid. Pricey but recommended.
Alright, step by step removal down to the tranny. First may I note that I think I did this with removing the least amount of stuff possible. I left the cross member on and y-pipe on. Removing these will obviously make removing the tranny easier but is optional. PS: if you remove the cross member you will need to support the engine.
Step One:
Start draining the fluid. Draining the tranny fluid takes a long time so start with this right away. I didn’t and I had to wait for while. This pic shows the bolt that is removed to do this.
Step Two:
Remove the driver side wheel.
Step Three:
Remove the caliper. My 300zx calipers were held on by 2 17mm bolts in the back. Use a wire or zip tie to hold them on the springs so they don’t hang by the brake line.
Step Four:
Remove the Rotors. Mine just slid right off.
Step Five:
Now remove the cotterpin and the washer behind it. Use a pliers.
Step Six:
Remove the 36mm axle nut. Impact gun is strongly recommended. There is also a washer behind it so keep track of that too.
Step Seven:
Disconnect the hub from the struts. It is a 19mm nut on a 17mm bolt.
Step Eight:
Now pull the hub off of the axle. I also used a hammer to help start push the axle out. I again used a ziptie to hang the hub from the strut so it would not pull the ABS line tight.
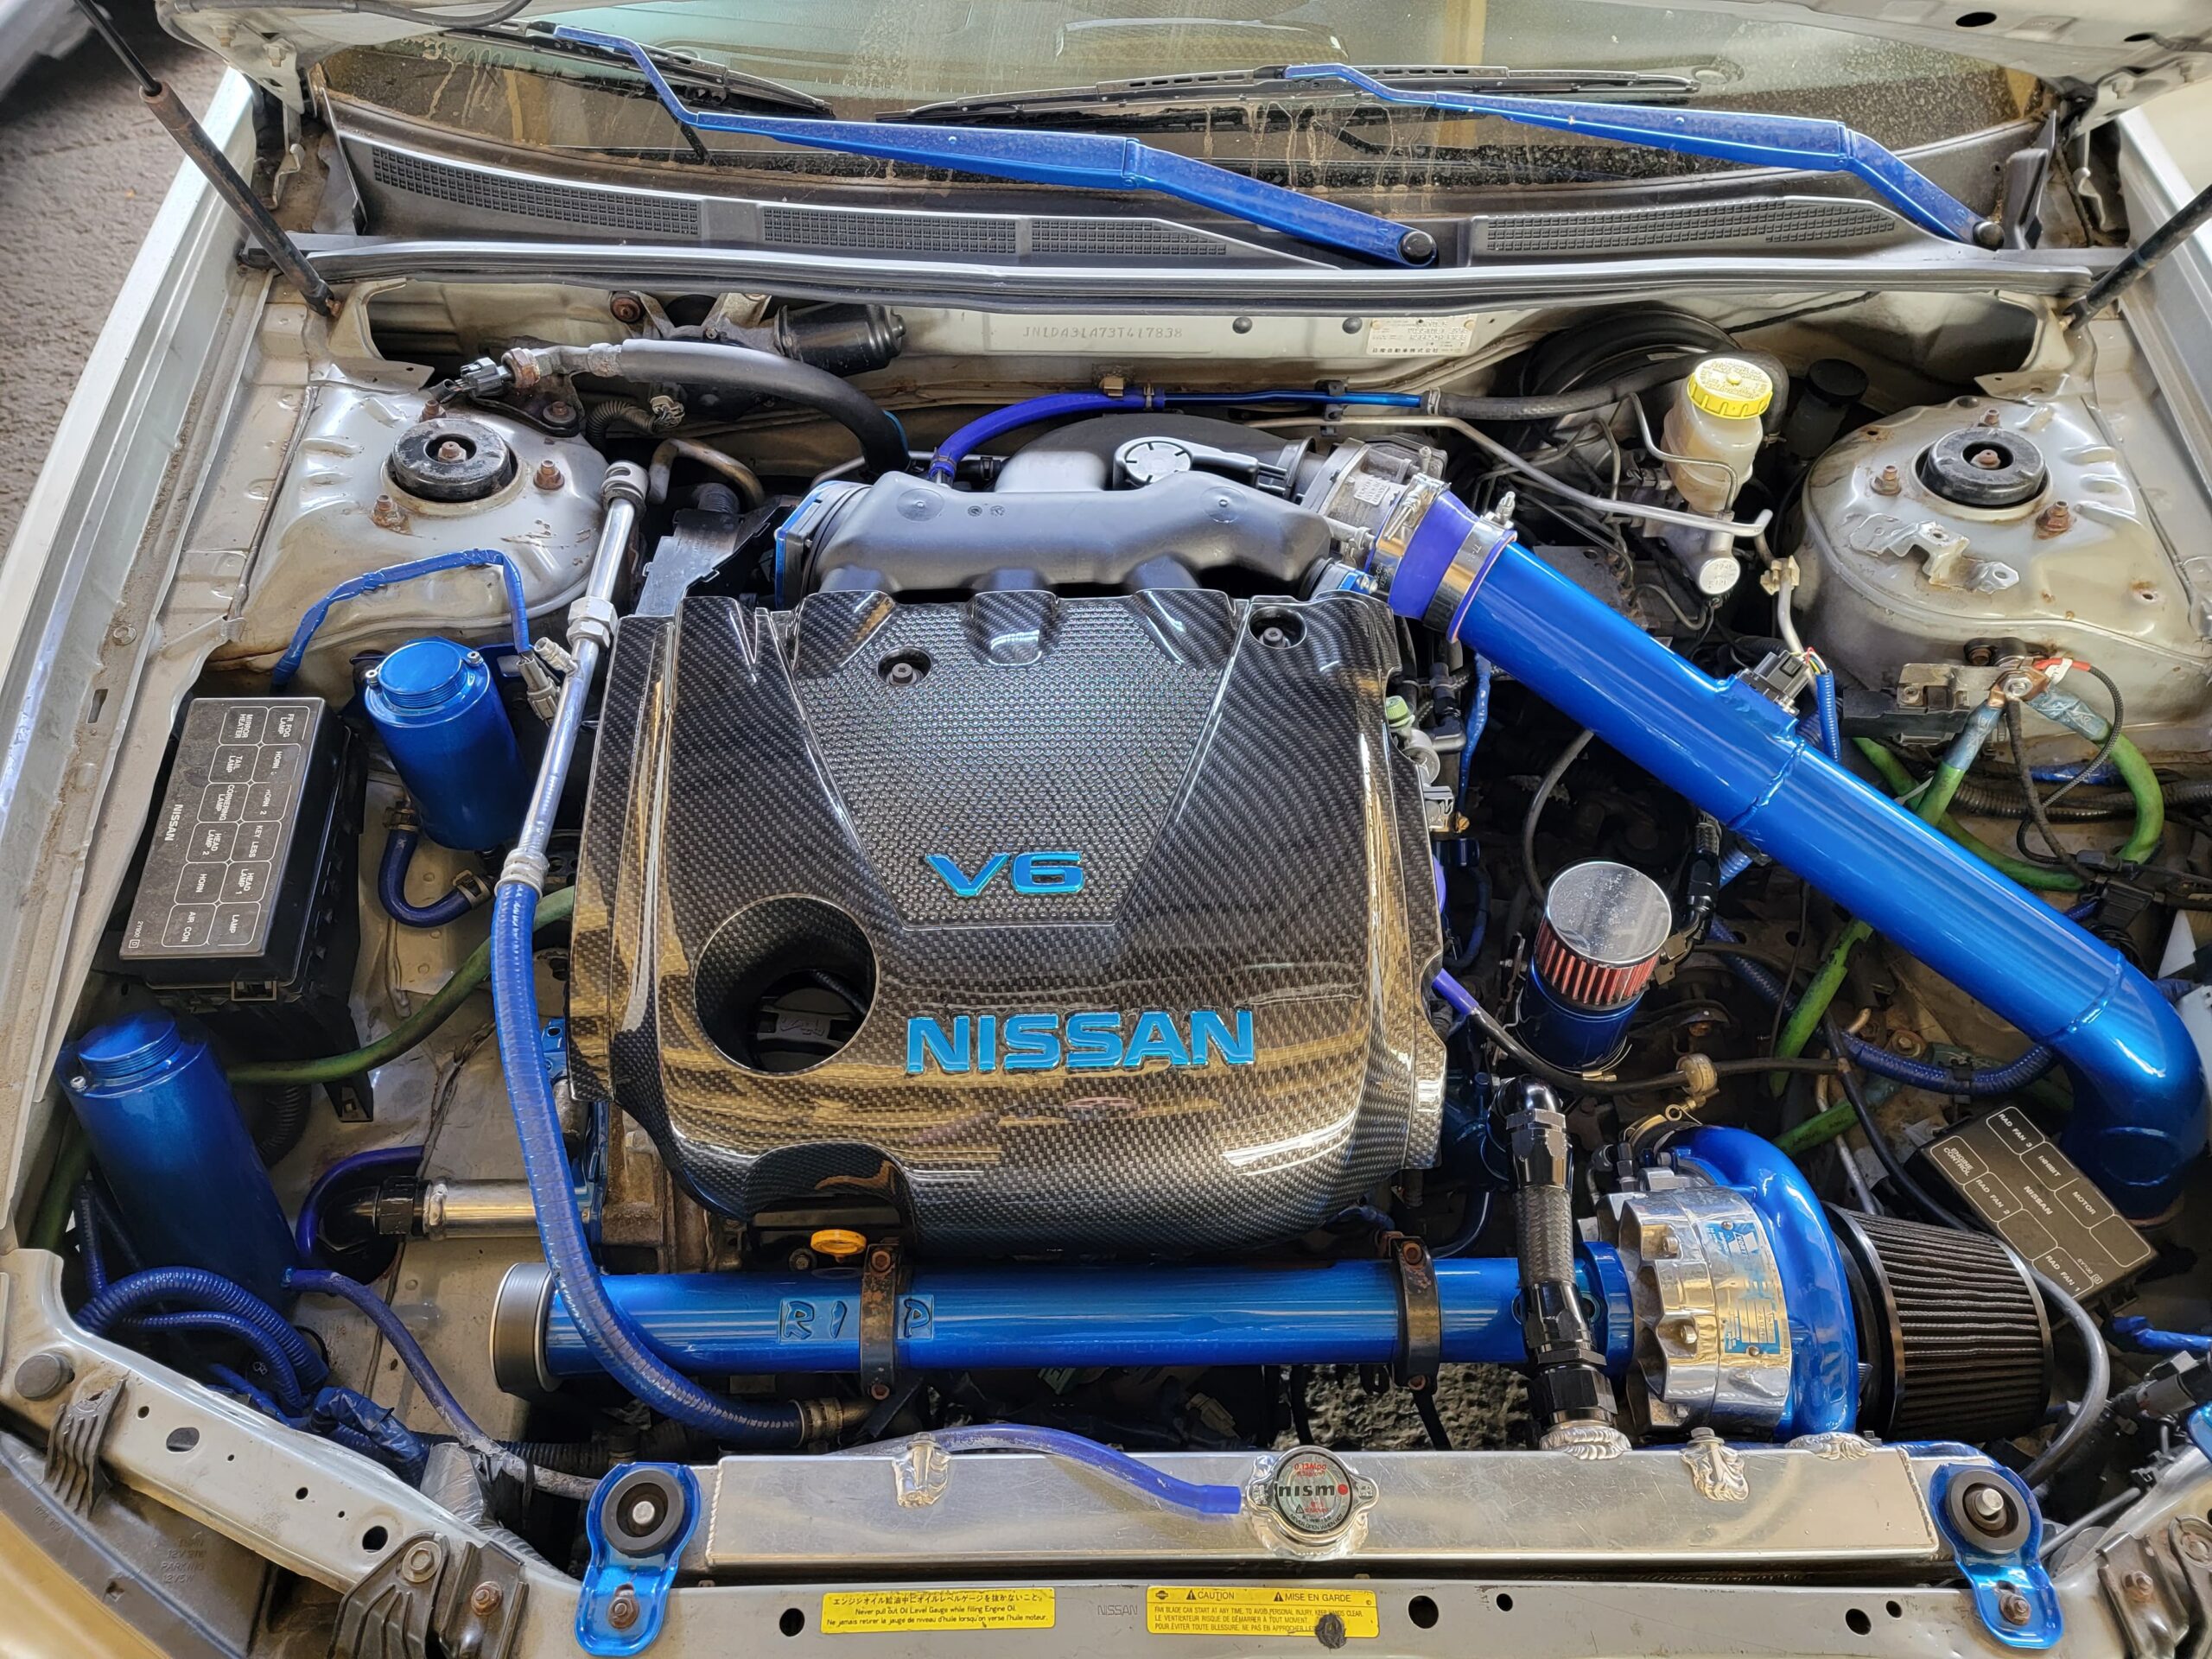
Now to attack from under the hood. Here is my engine compartment before doing anything. Mostly a mess, I know.
Step Nine:
Remove the intake. Disconnect the vac hoses, MAF and air temp plugs, and disconnect from the throttle body.
Step Ten:
Remove the battery and battery tray.
Step Eleven:
Remove the Starter. This involves disconnecting the big positive cable and the other connector. Then unbolt the 14mm and 17mm bolts.
Step Twelve:
Remove the slave cylinder. This was held on I think by two 14mm bolts. They are hard to get at so I had to use a wrench. Then also remove the ground wire that is bolted right next to where the slave cylinder is.
Step Thirteen:
Remove the tranny mount. First remove the long bolt that goes through it. Then the 4 bolts that hold it onto the tranny. Also notice the oil everywhere?…no wonder there is none in my tranny…it is instead all over everything else!
Step Fourteen:
In order to access a few tranny bolts, it is also necessary to remove the shifter linkages/rods from the tranny. It is ok to let them hang from where they connect to the shifter. Also 1 of these bolts is a pain to get at with out taking off the cross member but I did it with a wrench.
(sorry no pics of this)
Step Fourteen point five:
Also make sure the crank position sensor on the tranny is unplugged and the gear sensor is unplugged. I removed the crank position sensor completely.
Step Fifteen:
Now you should have everything off of the tranny. So now remove all the bolts holding the tranny onto the engine. There should be 8 since one was already taken off with the starter and one with the shifter rod. KEEP TRACK OF THE BOLTS! There are different sizes, what I did was I drew a picture of a circle and placed the bolts on the circle relative to each other on the tranny. 2 of the bolts on the bottom of the tranny I could not completely remove with the cross member still on, but I didn’t need to since they were completely unthreaded from the tranny. Once all the bolts are out its time to take off the tranny. What I did which isn’t recommended as the best, was place a jack under the tranny (but not pushing up on it) and then I used a screw driver to pry it from the engine. Then with the tranny sitting on the jack, I lowered it down. This isn’t recommended cause it is very hard to balance a tranny on the jack.
Step Fifteen point 5:
Remove the clutch. It is held on by I think 10 12mm bolts IIRC.
Step Sixteen:
Remove your flywheel. This is held on by 8 14mm bolts. I used an impact gun with a 14mm impact socket. These bolts are very tight and using a ratchet is difficult unless you can effectively stop the flywheel from rotating.
Step Seventeen:
Assemble lightened flywheel from stock ring gear, timing gear, and the stillen piece.
Step Eighteen:
Reassemble everything in reverse order, making sure to torque everything to spec and to replace the axle seals, and then refill with 4.8ish quarts of tranny fluid. DO NOT use an impact gun to install the flywheel and clutch onto the engine. These bolts are weak and can break…don’t ask me how I know.
Edit: Thanks to nismology for pointing this out, when refilling the tranny, do it with the car level on the ground and refill until oil comes out of the refill hole (It takes approximately 4.8 quarts)
Other notes…reinstalling the tranny was a major PITA since it’s so heavy. I recommend using a tranny jack. If you don’t have a tranny jack and if you aren’t super buff, you should remove the passenger side axle. It’s the same steps as the driver side with the addition of removing 3 bolts for the bracket that holds the axle to the engine.
There so many short throw shifters on the market, however, only Ralcorz has a shifter available that stands out amongst all others. These shifters are made from the highest quality aluminum and hardened steel. Every Ralcorz Short Shift kit is precision-made for each application. A premium sport shifter engineered for the enthusiast. This Sport Shifter has all of the features you need.
Matic-D may not be a technical requirement but it is certainly and unquestionably the safest choice … if one cares what the FSM says, that is.
In having owned my 1999 since MAR of that year and in having personally completed the vast majority of services and repairs since the expiration of the manufacturer’s warranty, I feel comfortable in letting those interested know what I’ve found works. Nonetheless, if others hold differing perspectives, based on their notable experience and long-term trials and errors, with regard to a specific topic (this case being the 4th generation Nissan Maxima) those individuals should feel free to espouse those perspectives in an effort to contribute to assisting those who’ve asked for assistance.
Contact @ Gerson Flores (Reputable and Trusted Seller)
Production will start once 20 group deal spots are filled. Full kit is $700.00 each for 20 kits. $750.00 for 15 kits.
The deposit is $350.00 if 20 kits are locked-in or $375.00 for 15 kits.
It takes a 4-8 weeks for the brackets to be made which is the most important part. Once it’s completed you can pay the remaining balance to receive the remaining kit.
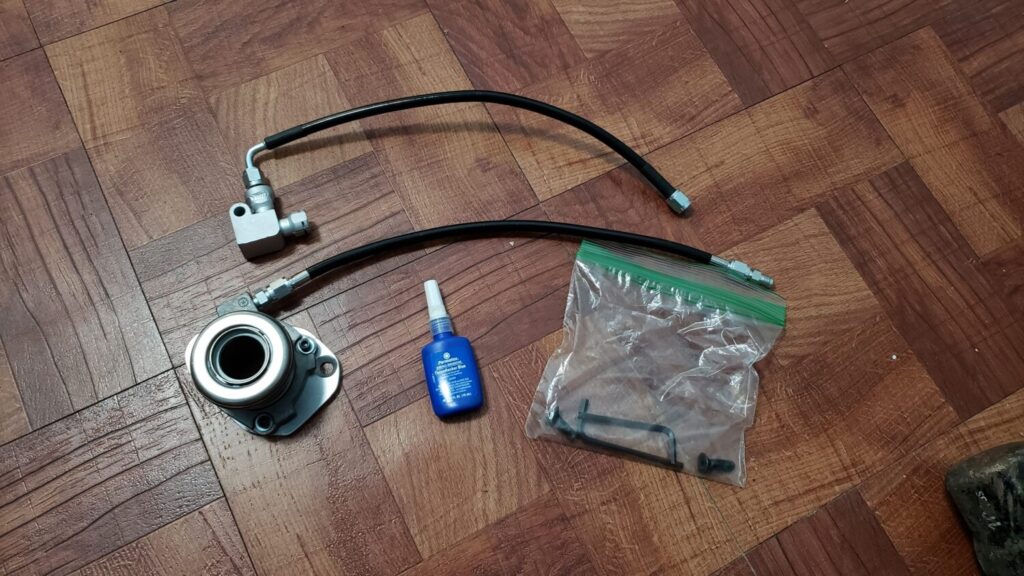
What’s Included:
Custom CNC Bracket
Metal Slaves
Modified OEM T-Fitting to 4AN Line (Factory Master and Bleeder will bolt right up like normal)
2x 4AN Stainless Steel Lines (Heat Resistant)
Adapter Fittings
Install Info:
The kit is plug and play.
Only thing you need to do is shave 3 tabs on the transmission for the new upgrade slave to sit flush.
The bracket is made to where the slave is replaceable. You can also order the slave through Gerson.
The kit works for 2007-2012 Altima 2.5 / 2.5. Also works with 7thgen Maxima 6-Speed Swaps


")


 Upgrade for 2009-2014 7thgen Maxima / 2007-2012 Altima")