

Member Credit: The Wizard & ptatohed
As a few of you know, ptatohed (Josh) and myself (James) recently installed a water to air aftercooler on his car. After doing a lot of homework, we decided on a ‘barrel design’ (as opposed to a ‘box’ design). We ended up going with the Jackson Racing AWAC (Air/Water AfterCooler) made for the Mazda Miata. Here is a picture (although this is the older, unpolished, design):
The kit retails for about $900 new but ptatohed paid about half that for a used kit. We went with this ‘barrel design’ because we felt it was easier to fit in the engine bay and it (in theory) produces less of a boost loss compared to a ‘box design’. (Here is a picture of i30krab’s Maxima with a Vortech ‘box design’ AWAC, if anyone is interested).
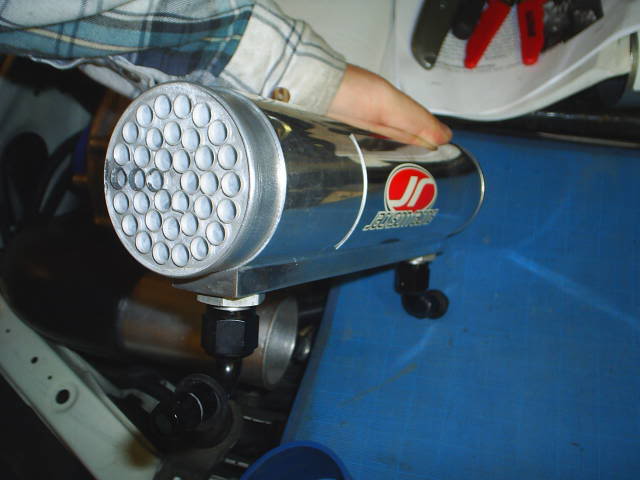
The JR kit provided us with the aftercooler, the electrical pump, and the front-mount heat exchanger (and 3/8″ heater hose). The JR kits expects the Miata guys to use their stock overflow bottle as their water reservoir. That wasn’t going to cut it for us. We bought this water/ice reservoir made by Vortech:
The reservoir is a little big but it does fit. However, note that a smaller battery must be used to make the reservoir fit (or relocate your battery). Josh took apart a Wal-Mart mobile jump-start (as seen in the pictures below) but I bought an Oddyssey (PC680MJT):

Here is a picture of Josh’s Wal-Mart battery:

Our goal was to convert to a 3” intake system at the same time we installed the AWAC but we wanted to do so with no custom work needed. No welding, no bracket or pipe fabrication, no special-order parts, etc. And we accomplished our goal! We put the whole system together with easy to get parts. Most of our intake plumbing was purchased here.
Before I get to the pictures, I’ll give a quick review. Honestly, we don’t really feel anything on the butt-dyno. But that might be because we did lose 1.5 – 2 PSI of boost (peaking at just about 8.5 now, down from 10 PSI). Hopefully that will easily be taken care of with a smaller pulley. Right now we both have a 3.25″ pulley. Anyone know what size pulley we should drop down to, to get back to 10PSI? The system seems to work great! No matter how much we drive, the water always stays cool and so does the AWAC. As a test, we unplugged the pump, went for a drive and, sure enough, the AWAC was roasty. So, we are assuming the intake temps are being reduced. We’ll know for sure, soon enough, as we have an Autometer dual intake temperature gauge waiting for install. We will also be dyno-ing our cars shortly. As soon as we know, we’ll let you guys know our intake temperature drop across the aftercooler and our dyno results. It will also be fun to experiment with dropping ice in the reservoir!
O.k., enough talking, on with the pics. While I will post some of the pics below, please click here to see all the pics.
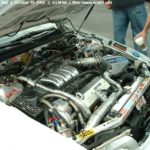
Before:

Reclock the blower:
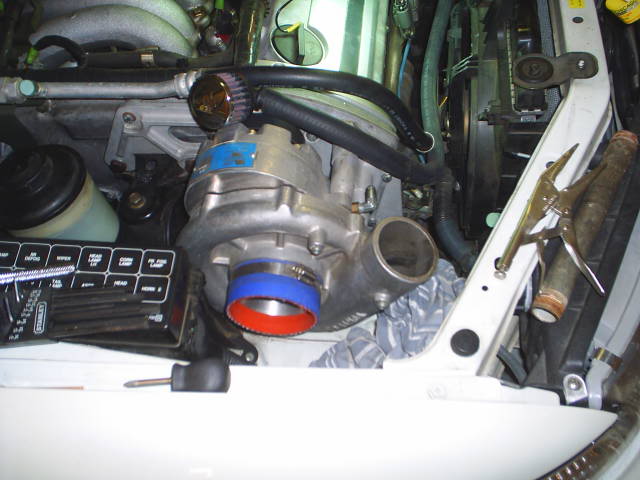
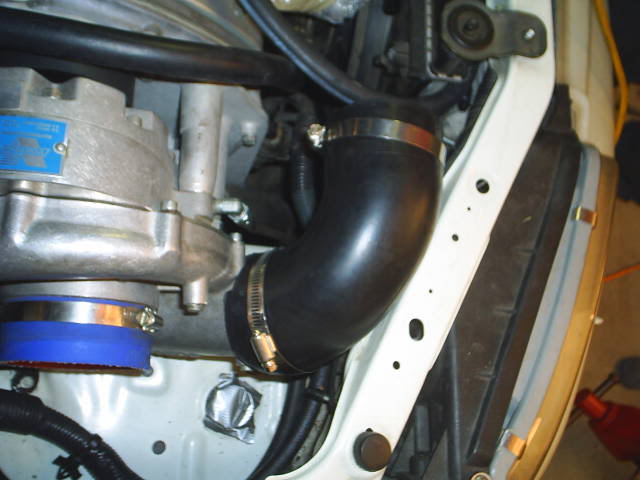
90^ rubber elbow:
BOV adaptor from E-Bay. This can be purchased to accommodate various BOVs:

(Please note we are temporarily using cheesey rubber couplers and worm clamps. We will be replacing these with nice silicone couplers and T-Bolt clamps soon).
Jackson Racing Water to Air AfterCooler:


This is a picture of our 45^ bend. We really need a 60^ bend but since they only make 45^ and 90^, we used a 45^ and “cut it to be 60^”. We first marked the location where we wanted to cut, to get the length we needed. Next, instead of drawing lines perpendicular/radial to the pipe, we skewed the lines 7.5^ on each end (We need 60, but are using a 45. 60-45=15. 15/2 = 7.5):


This is the cheesey plastic MAF adaptor we bought from E-Bay but have since purchased nice metal ones from Cattman (Place Racing):

Vortech Ice/Water reservoir:

Water pump:

Heat Exchanger:


Complete!:


![]()

Comments are closed.